
Product Printing and Marking
Product Printing & Marking
We apply logos, text and symbols to devices, enclosures, covers, parts and balls. The printing or marking method is chosen to suit the surface material, coating and shape.

1 / 10 · Bird and foliage design printed on a pink surface
Device and enclosure marking
We position logos, button labels and connection names around the device’s screen, openings and reading direction.
Logo printing on balls
We print club and event logos on golf balls, footballs and soft promotional balls. Size and placement depend on the surface, seams and areas that stretch.
Applications
- Small body logos
- Marks on the cover
- Production part information
- Control panel descriptions
- Device model information
- Enclosure logos
- Club and team logos
- Event souvenir balls
- Promotional products
- Minimum order
- Device, enclosure and part printing: 100 pieces. Ball logo printing: 500 pieces.
- Dimensions and print colours
- There is no fixed limit on dimensions or print colours.
- Material and surface
- The printing system is selected for the part’s material, coating and operating conditions. Paint and coatings affect adhesion and colour appearance.
- Logo position
- Logo positions are referenced to a fixed edge or opening. For left and right covers, the reading direction is checked in the assembled position.
- Can flat artwork occupy the same print area on every part?
- Curves, raised details and holding areas limit usable print space. A logo fitting a flat drawing may look different on the actual part. For device and enclosure marking, the layout is also prepared around the accessible surface.
- How should quantities be listed for different parts carrying the same logo?
- Covers and bodies are counted separately. Even with the same logo, the print area is measured for each part’s shape.
- Legible information layout
- The available surface, rather than the enclosure’s overall dimensions, determines the text area. Socket and button labels should be readable beside the relevant part when the device is assembled.
- Direct printing on the body or a panel label?
- Direct body printing applies text and symbols to the part's own surface. On polycarbonate panel labels, graphics, display and button areas are prepared on a separate film. Part shape, coating and panel use determine which approach suits the product.
- How are quantities calculated when different information is printed on the front and back of a device?
- Front and back are separate print areas. Printing both sides of 100 devices means preparing 100 fronts and 100 backs.
- Panel and logo width
- Measure the narrowest part of the logo area and keep the artwork clear of seams, grooves and raised details. Check the reading direction at actual size.
- Type of ball
- The ball’s brand, model and coating are considered alongside whether it is intended for play or display.
- Printing options
Screen printing suits text and colour areas on flat covers; a flexible silicone pad reaches curved and narrow areas.
Related printing services: Screen Printing, Pad Printing, UV Printing
Before printing
- Adhesion to the surface
- Additives and coatings can vary within the same plastic type. A sample of the actual part is needed to select compatible ink or pretreatment.
- Consistent positioning across prints
- Specify dimensional differences between parts and acceptable positioning tolerances; an approved print sample helps establish how the parts will be held.
- Dimensioned view
- Provide dimensioned front and side views. If you will supply a removable cover, agree on how it will be delivered in advance.
- Existing technical markings
- Show existing warnings, labels and conformity marks on the drawing, leaving a separate area for the new print.
- Stretching and friction
- Inflation, stretching and friction can affect the print. Check a printed sample on the chosen ball model before the production run.
- Compatibility by model
- Ink compatibility is checked separately for each ball model; surface information and a sample are needed.
White underprinting gives colour artwork an opaque base on dark or clear parts. Separating logos and text from the part's colour helps the branding stand out.
Registration between colour layers supports fine text and line clarity. Balanced line weights and colour spacing help keep logos readable even in narrow areas.
Related products
All Products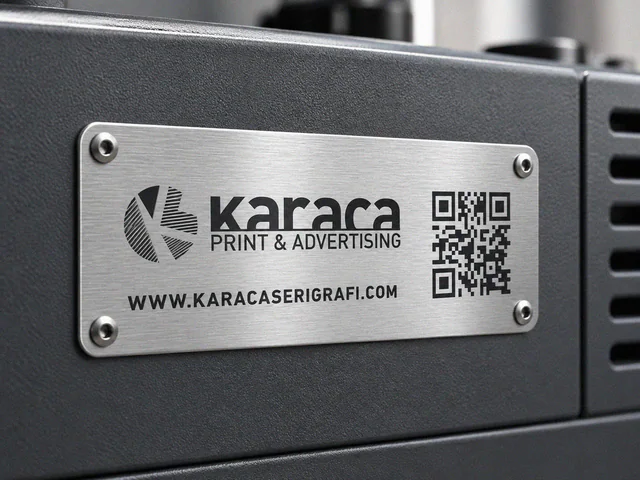
Metal Barcode Labels
Variable QR codes, barcodes and serial numbers on metal plates or product surfaces.
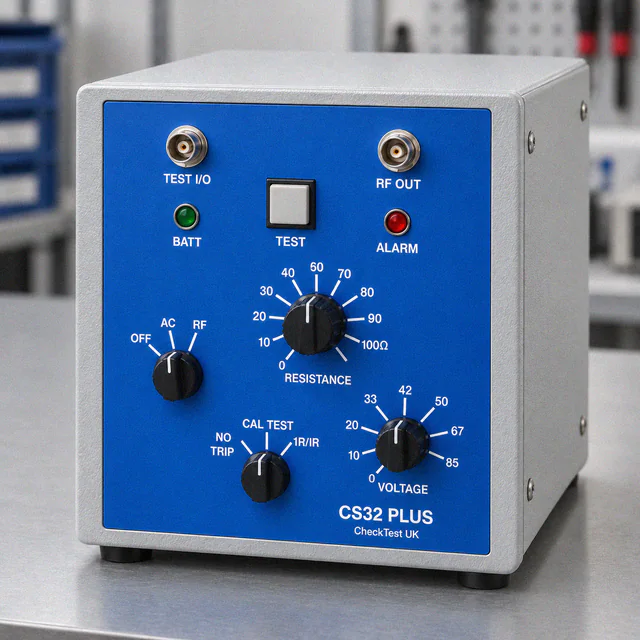
Polycarbonate Panel Labels
Printed equipment overlays combining button markings, symbols and display areas on a device's front panel.
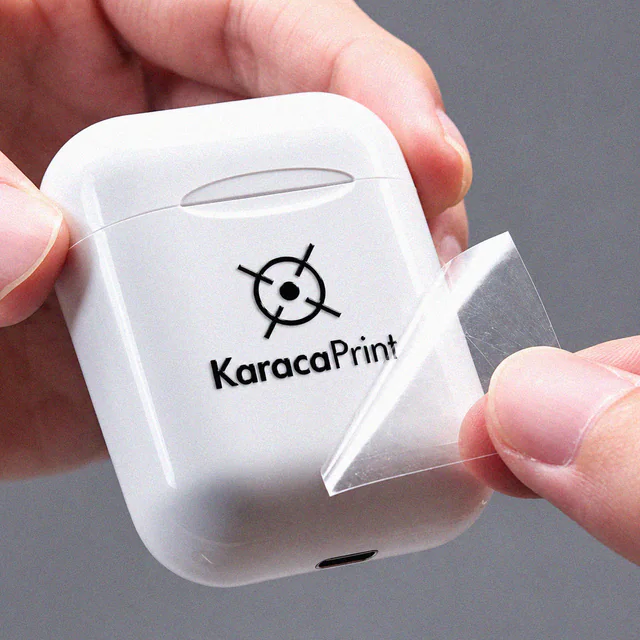
Cold Transfer Labels
Transfer graphics that move a logo or pattern from a carrier onto boxes and promotional products.
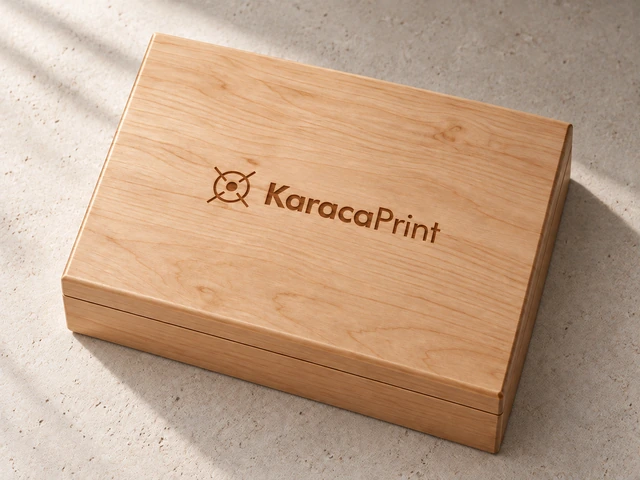
Wood Product Marking
Logos, text and patterns on wooden boxes, coasters and decorative products, with the wood texture taken into account.